Creating workspaces
Workspaces is the place where you collect your discussions, to-dos, documents and files all in one place.
- You can create a workspace yourself, or accept an invitation to join one.
- Only members have access to information inside a workspace.
- No one can see a list of all the workspaces you belong to.
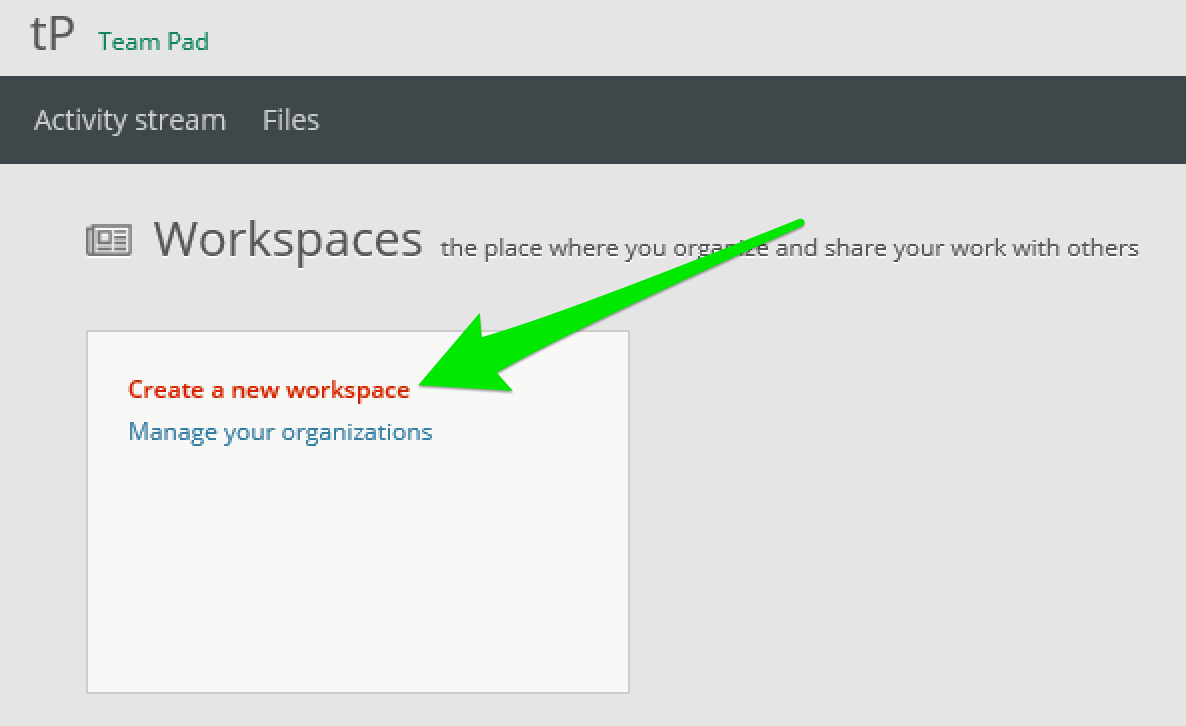
1) Click "Create a new workspace". It's located on the left side of your workspaces screen.

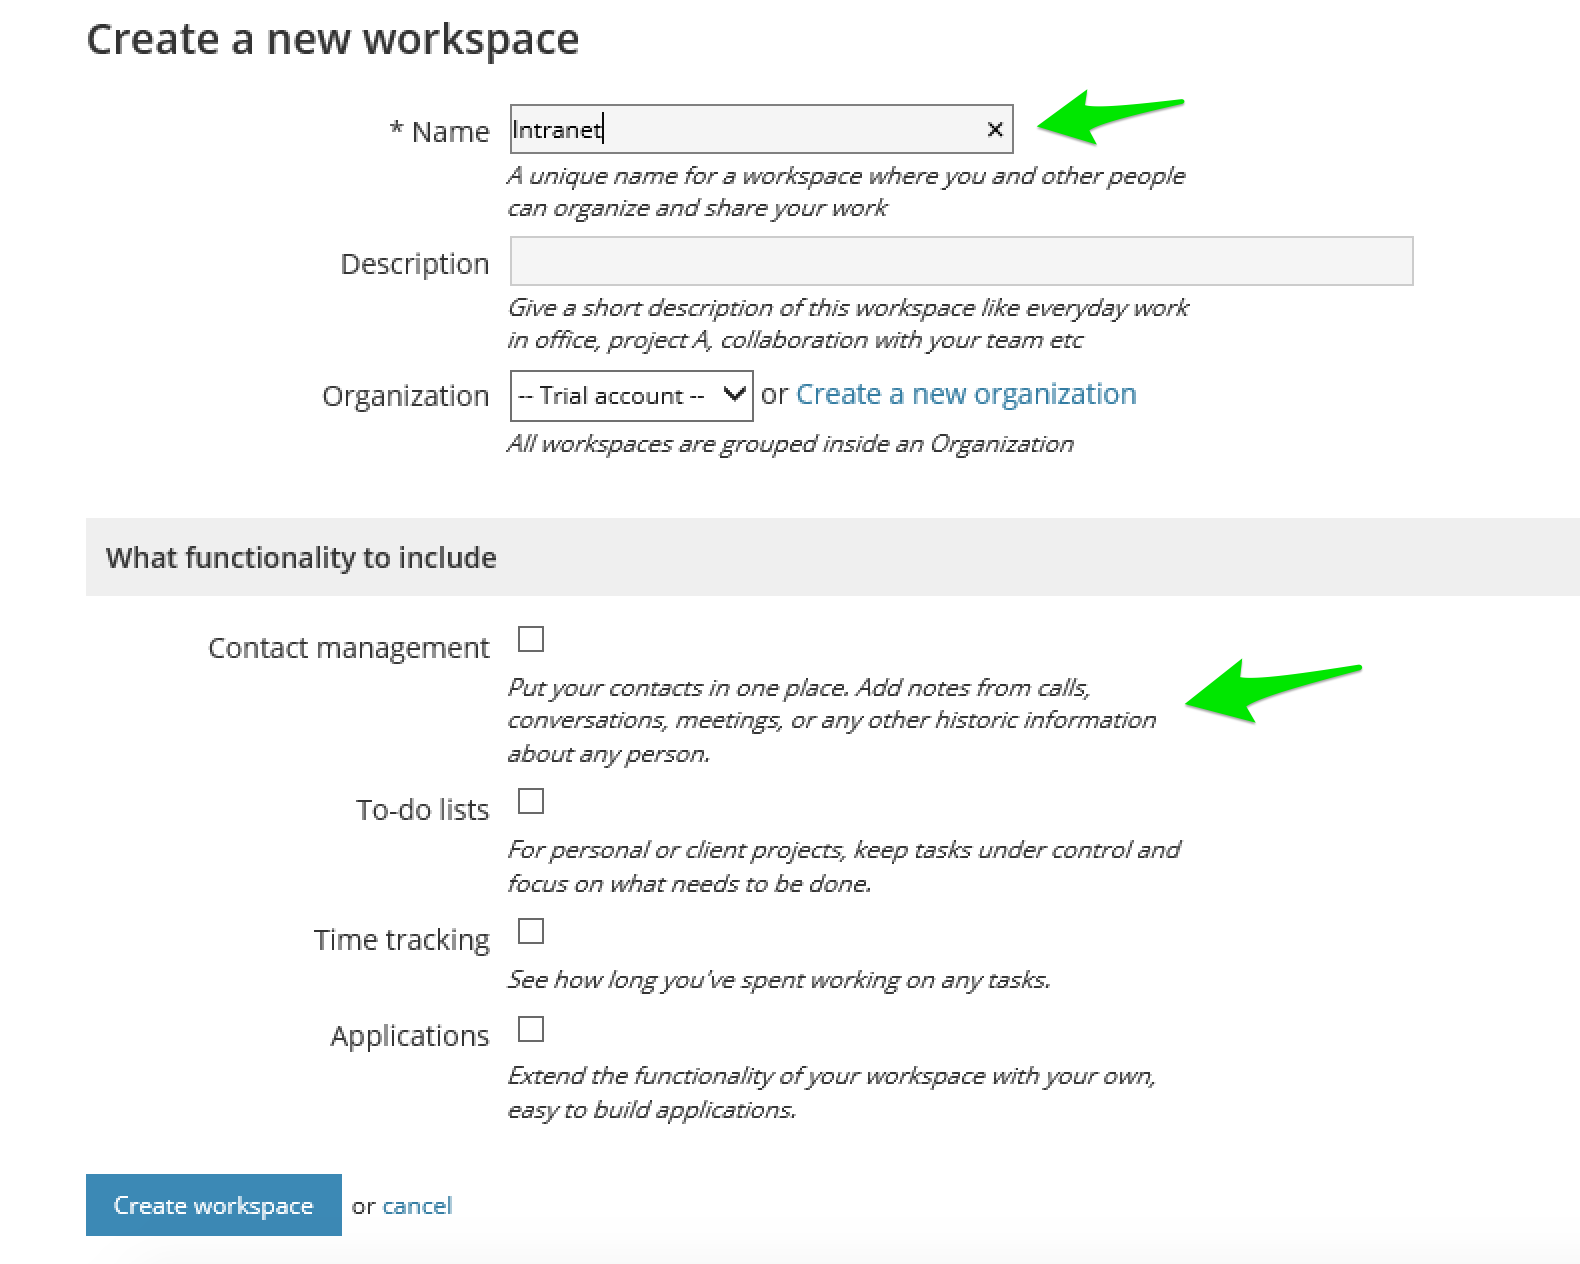
2) Name it! In the next screen, give a name and check what functionality you want to include. People generally name their workspaces after departments, clients, teams or projects (e.g. "HR", "Intranet" or "Project WMS")

3) Add your team. Find more about adding users here.
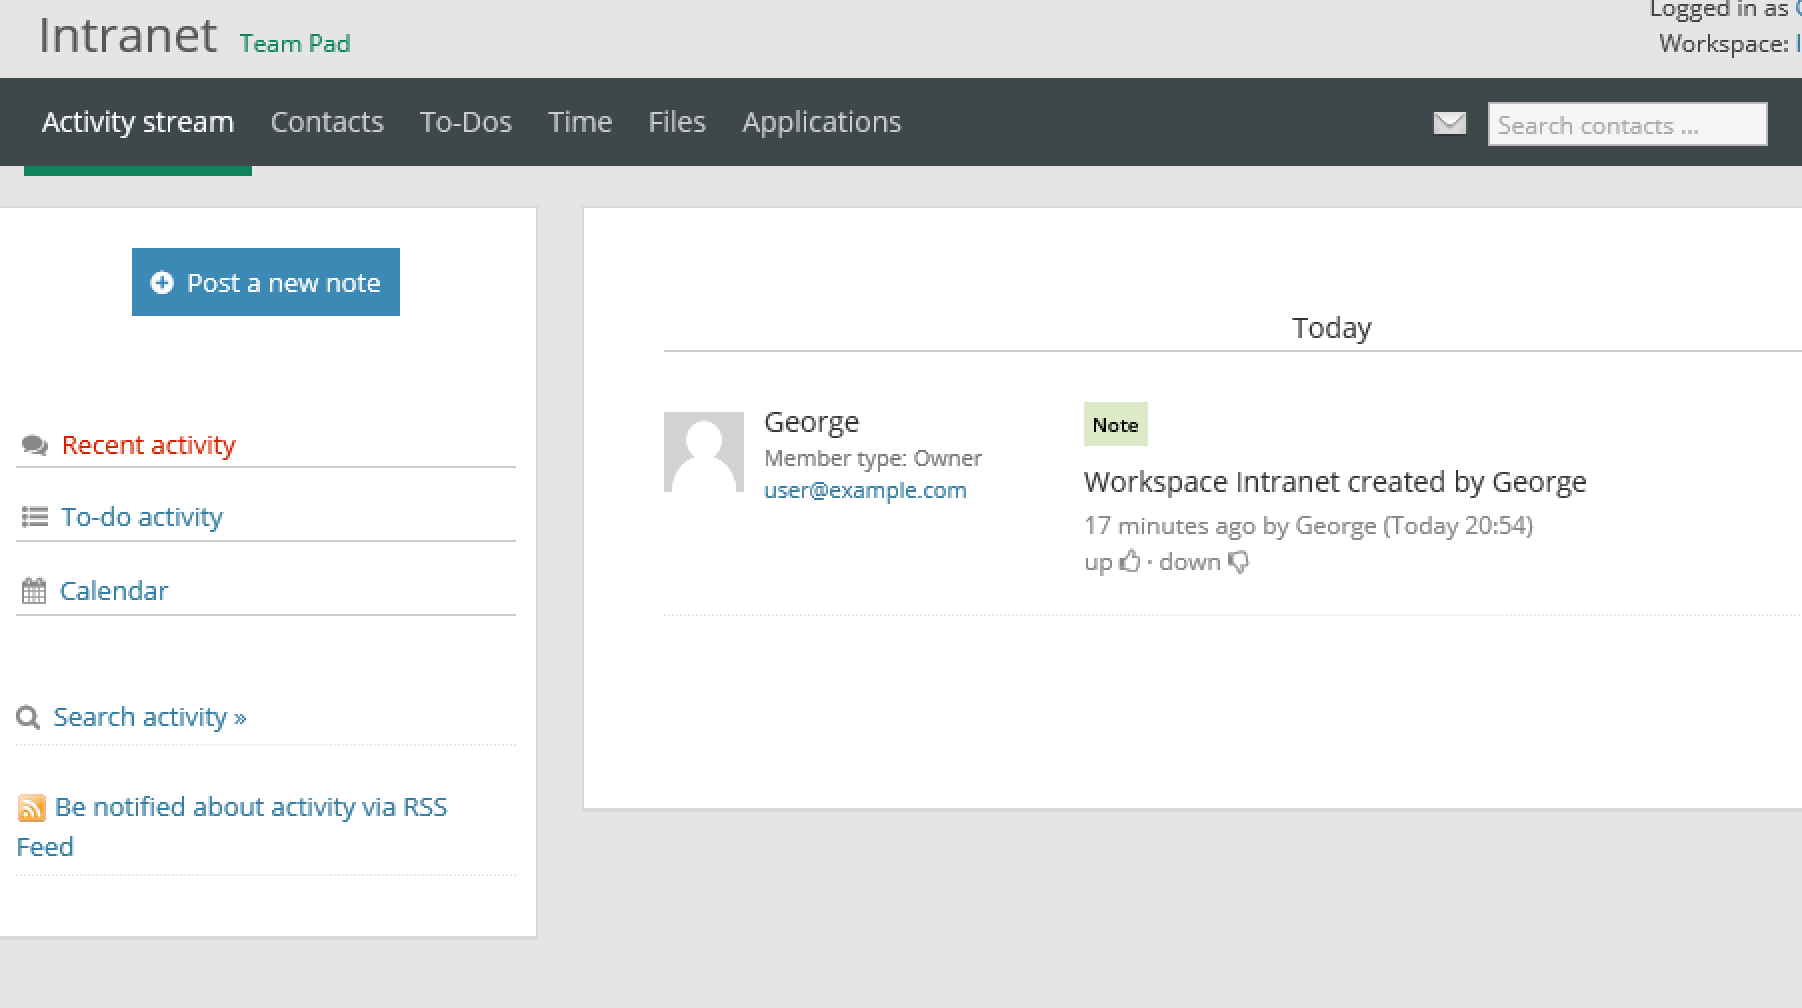
4) Your 're ready! Start with a post in the activity stream to fill people in e.g. on project details and get their feedback.

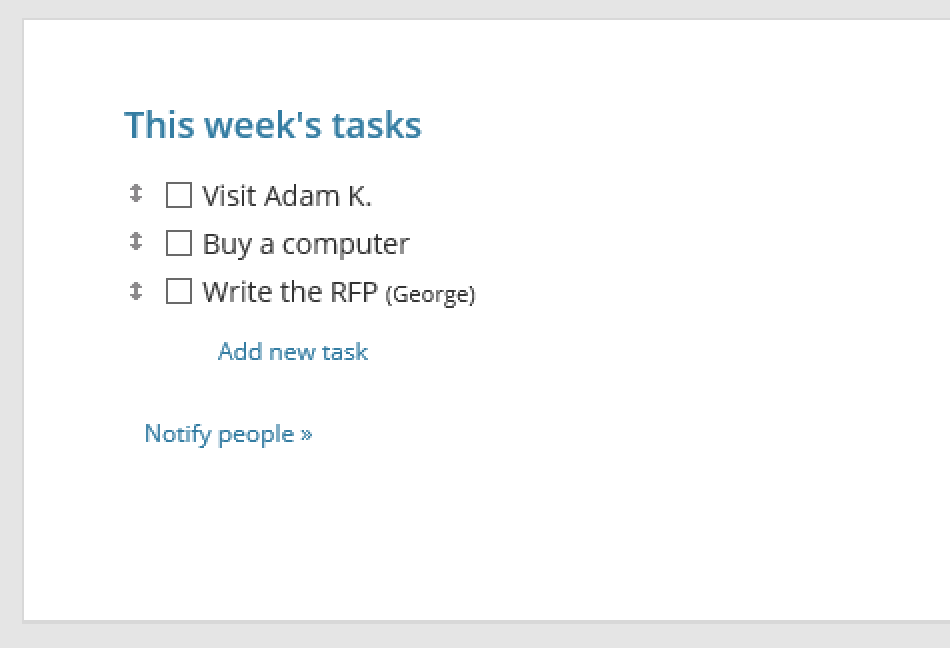
5) Make a To-do list. Create tasks, and assign them to people. Dated to-dos will appear on your Calendar.

6) Share documents and images. Upload files to the "Files" page. You can attach files to notes, comments and tasks as well.